Mixing with Compression in Logic Pro X
FANTASTiC | 24 July 2018 | 837 MB
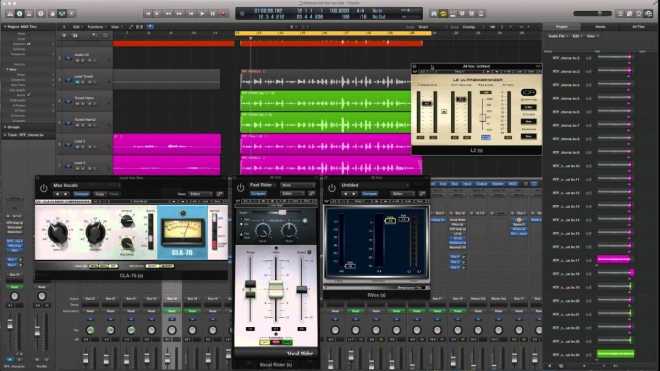
In this class, I demonstrate to you the features and benefits of using Logic Pro X’s built-in Compressor plugin to mix in-the-box.
Viewed 3488 By Music Producers & DJ´s.
In this class, I demonstrate to you the features and benefits of using Logic Pro X’s built-in Compressor plugin to mix in-the-box.
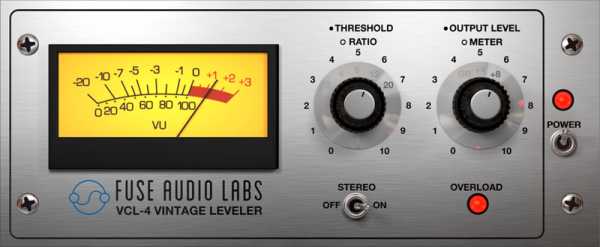
VCL-4 is a faithful emulation of the silver face revision of the op-amp-based successor of THE classic late 60s opto leveler. It provides you with unintrusive to extreme program dependent and musical opto compression. The switchable ratio option makes for a flexible solution over a wide range of source material. During the modeling process Fuse Audio Labs rebuilt the entire original circuit on strip board, however replacing the original opto-cells that were made up of an LED and an photoresistor with suitable Vactrols. Every part of the circuit including the receiver stage, the side-chain and Vactrol LED driver circuit, the Vactrol itself as well as the push-pull driver stage and the output transformer has been accurately modeled.
This course is designed to make the processing of mixing your track feel more like music and less like engineering. You’ll learn how EQ and compression work together to help you make the right musical choices for each track in your mix. You’ll learn what to listen for when using a compressor. These stems can be used in an DAW (ProTools, Cubase, Ableton, Logic, etc.). The lessons in this course are presented with Cubase, but the main focus is EQ and Compression which are universal topics that apply to any DAW. Follow along with this walkthrough-style course to learn how the technicalities of mixing with EQ and Compression. With these skills, you’ll be able to stay focused on your music without having to compromise on a half-baked final mix.
In this short demonstration, I discuss the parameters of a typical compressor, and how they affect and shape the sound. There’s a lot of information out there on compression, but my goal of this course is to provide you with clear and understandable explanations for understanding the workings of a compressor.
Another series designed for the electronic music producer, this time focused on the highly important technique of creating and using sidechain compression. Adam welcomes you and gives an overview of what sidechain compression is, and why and when you want to use it. He then covers all the basic controls such as Attack, Release, Threshold, and something Adam likes to call ‘hold down’. You’ll then learn fantastic tips and tricks for using and applying sidechain compression such as Ghost Kicks, Clicks, Lookahead Mode, Compression Modes, 3rd Party Compressors and more.
Dynamics and Compressors and how they’re used in the Electronic Music genre to tame signals as well as create interesting effects and colors. Adam begins by welcoming you and then starts at the beginning, covering what compression and dynamic processors are, as well as why you would want to use them. Limiters are then looked at and explained, followed by the basic controls found on compressors and limiters such as ratio, attack time & make up gain, release time and more. Next, Multiplier covers why each compressor behaves differently, how to utilize input high pass filtering for better compression, saturating with analog compressors, and how to compress inconsistent audio. Lastly, you’ll learn things like how much compression you should really apply, how to use distortion as a compressor, understanding gates, and the basics of transient shapers.
Sidechain compression: no top-notch EDM, house or R&B production can do without. Kickstart is the fastest way to get that signature sidechain effect in your own tracks. Forget complicated compressor routings, simply drop Kickstart on your channels—a big Mix control and hand-crafted modulation curves get you started. You can use Kickstart in any VST or AU sequencer such as Ableton Live, Logic, Cubase, Fruity Loops, etc