The MIDI Orchestra Designing Templates TUTORiAL
SYNTHiC4TE | June 05 2015 | 356 MB
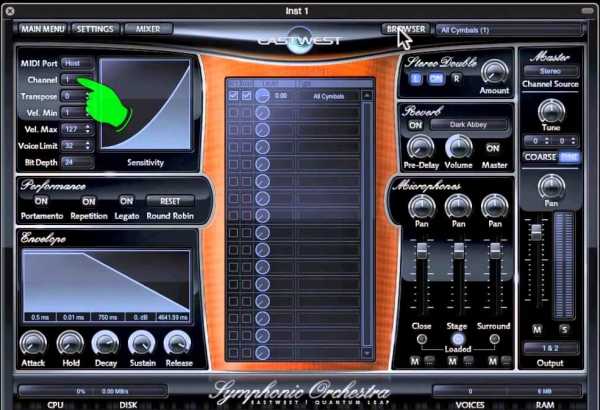
You need an orchestra to play orchestral music. Likewise, you need an orchestral template to play a MIDI orchestral score. This course, explains the technology and the craft behind designing pro orchestral templates. As a follow-up to Peter’s popular “Enhancing Realism” course, “Designing Templates” shows you everything you need to know to construct your own orchestral templates. You learn about sampling technology and how it works, as well as how to optimize your hardware (and software) to get the most out of your MIDI orchestra. Then, Peter dives into the plugins, including East West, Native Instruments and more, explaining the ins and outs of multi-timbral and multi-output setups. With that knowledge well in hand, Peter gives you all the tools and tips you need to construct an orchestral template that’ll work perfectly with your specific hardware and software.
Viewed 4641 By Music Producers & DJ´s.